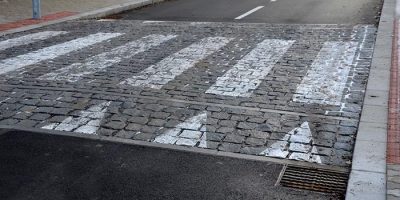
Installing Speed Tables: A Step-by-Step Guide for Municipalities
The increasing congestion and urbanisation of our cities demand innovative traffic calming solutions. One such method that has gained traction over the years is the introduction of speed tables.
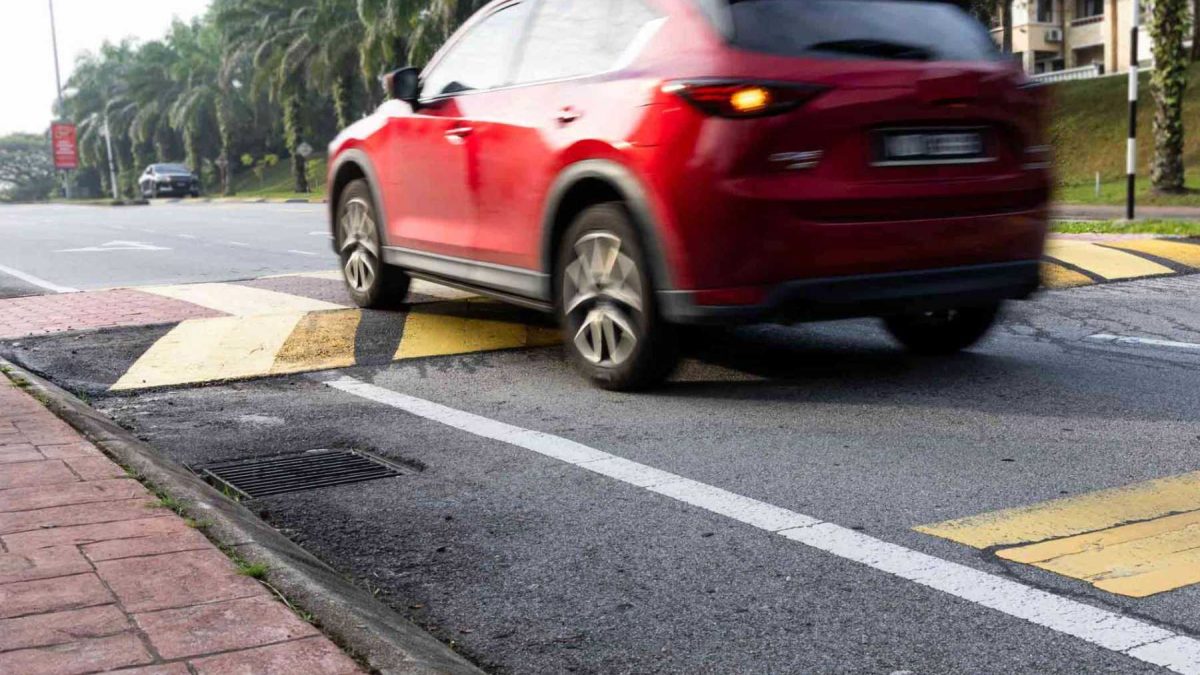
These elongated speed bumps serve to regulate vehicular speeds, ensuring the safety of pedestrians and reducing the risks of road accidents. For municipalities looking to incorporate these into their urban landscape, understanding the process is crucial. This article provides a comprehensive step-by-step guide to installing speed tables, with a spotlight on how Quicksetts can significantly simplify the process.
1. Assessing the Need
Before any physical changes are made to the roads, it’s essential to establish the need for speed tables.
- Traffic Analysis: Use traffic counters or manual counting methods to ascertain the volume and speed of vehicles in the proposed area.
- Accident Records: Check historical data for the number of accidents or near-miss incidents that have occurred on the concerned stretch of road.
- Public Feedback: Engage local residents and businesses in the vicinity. Their firsthand experiences and feedback can provide invaluable insights.
2. Site Selection
Once the need is established, the next step is choosing the right location.
- Visibility: Speed tables should be installed in areas where they are easily visible to approaching traffic. Avoid locations right after curves or crests.
- Proximity to Key Areas: Locations near schools, parks, or pedestrian crossings might benefit more from speed tables.
- Drainage Considerations: Ensure that the site doesn’t hamper the natural drainage of the road.
3. Design and Dimensions
The effectiveness of a speed table largely depends on its design.
- Length: Unlike speed bumps, speed tables are elongated, often spanning the entire width of the road.
- Height: Standard height is around 3 to 4 inches, enough to slow vehicles without causing discomfort.
- Ramp Design: The approach and departure ramps can be designed with a specific gradient to determine the desired speed reduction.
4. Material Selection
The durability and performance of a speed table depend on the materials used.
- Asphalt or Concrete: These are the most common materials used due to their durability and ease of installation.
- Rubber or Recycled Materials: Environmentally friendly options that also allow for easy removal or relocation.
5. Marking and Signage
Proper markings are crucial for the visibility and effectiveness of speed tables.
- High-Visibility Paint: Mark the speed table and its boundaries with reflective, high-visibility paint.
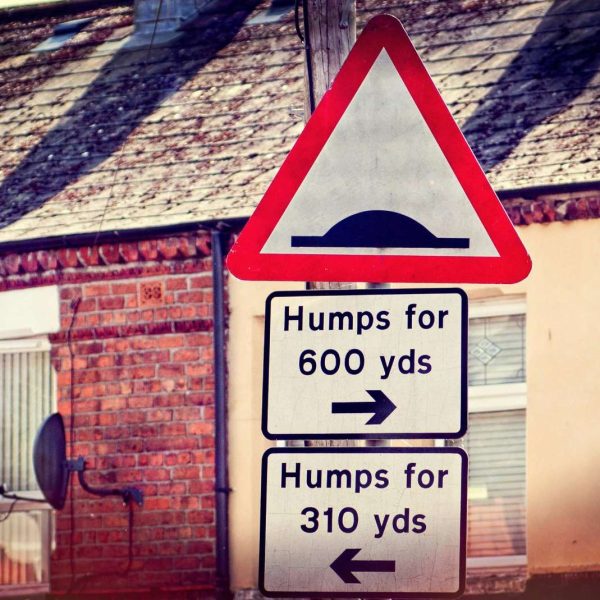
- Warning Signs: Install signs before the speed table to alert drivers about the upcoming traffic calming device. Ensure these signs comply with local regulations.
6. Installation
Installing speed tables is not just about laying material on the road. It requires a meticulous process to ensure effectiveness, longevity, and safety.
Here’s an expanded guide to this critical phase:
-
Site Preparation
- Demarcation: Begin by marking the exact locations where the speed table will be placed using chalk or temporary marking paint. This provides a clear guideline for the forthcoming steps.
- Cleaning: Thoroughly clean the designated area of any debris, dust, and loose gravel. This ensures a strong bond between the road surface and the speed table material.
- Surface Evaluation: Assess the road’s condition. If there are cracks, holes, or uneven patches, they should be fixed before the speed table installation. This is pivotal to ensure that the new installation doesn’t deteriorate rapidly because of underlying issues.
-
Material Mixing (for Asphalt or Concrete)
- Asphalt: If using hot-mix asphalt, ensure it is heated to the recommended temperature (usually between 275°F and 300°F). Cold-mix asphalt does not require heating but should be mixed adequately.
- Concrete: Mix the concrete as per manufacturer recommendations, ensuring a consistent blend of cement, aggregate, and water. Proper mixing ensures structural integrity and longevity.
-
Laying the Material
- Starting Point: Begin at one end of the marked area, gradually working your way to the other end. This systematic approach ensures uniformity in height and width.
- Layering: Lay down the material in layers. Typically, you would start with a thicker base layer followed by a thinner top layer. For asphalt, the base layer could be 2-3 inches thick, followed by a 1-inch top layer.
- Compaction: As each layer is placed, it needs to be compacted using a mechanical compactor. This step is crucial as it removes air pockets and strengthens the material, preventing early wear and tear.
-
Shaping the Speed Table
- Gradient: The gradient of the approach and departure ramps of the speed table determines the deceleration effect on vehicles. Use wooden boards or metal screeds as a guide to achieve the desired slope.
- Flat Top: Ensure the central part of the speed table (the flat top) is level. This is where vehicles will travel over, and any irregularities can cause discomfort or potential vehicle damage.
-
Curing
- Concrete: If concrete is used, it’s imperative to let it cure for the recommended period, usually several days, depending on weather conditions. Keeping the concrete moist during this phase prevents it from cracking.
- Asphalt: Hot-mix asphalt doesn’t require a long curing time and usually sets within a few hours. However, traffic should be restricted for at least 24 hours to ensure the material has settled properly.
-
Safety Precautions
- Barricading: Throughout the installation process, the area should be cordoned off with safety barriers, cones, or tape. This ensures no vehicles accidentally drive over the fresh installation, which could damage both the vehicle and the speed table.
- Signage: Place temporary signs around the installation site, indicating roadwork ahead, ensuring drivers approach with caution.
- Lighting: If the work extends into the evening, use adequate lighting to ensure the safety of workers and to help drivers spot the work area from a distance.
In essence, the installation of a speed table is a delicate blend of precise planning, skilled craftsmanship, and adherence to safety protocols. Proper execution of each step ensures that the speed table not only performs its function of slowing down traffic but also stands the test of time.
7. Post-Installation Assessment
After installation, a review is necessary to determine the effectiveness of the speed table.
- Traffic Analysis
Monitor vehicle speeds post-installation to assess the speed table’s impact. - Public Feedback
Re-engage with the local community to gather feedback and address any concerns. - Modifications
If required, make necessary adjustments, whether it’s the height, width, or markings of the speed table.
Incorporating Quicksetts Speed Tables
Quicksetts have emerged as a revolutionary solution in the realm of road safety installations. Essentially, these are pre-cast concrete modular blocks, offering a quick and efficient method to create various traffic calming devices, including speed tables.
How Quicksetts can Help:
- Rapid Installation
Quicksetts, being pre-cast, significantly reduce installation time. This minimizes disruptions to regular traffic. - Versatility
They can be customized to fit various road widths and designs, ensuring adaptability to diverse urban settings. - Durability
Made of concrete, Quicksetts are highly durable, ensuring the longevity of the speed table. - Aesthetics
With the possibility of integrating various designs or colors, Quicksetts can be made visually appealing, enhancing the overall look of the road.
By incorporating Quicksetts into the installation process, municipalities can enjoy a blend of efficiency, durability, and aesthetics, all while achieving the primary goal of traffic calming.
Installing Quicksetts
Quicksetts are gaining popularity due to their ease of installation, modularity, and durability. These pre-cast concrete modules are designed for swift implementation, reducing the time and complexity usually associated with traditional speed table installations.
Here’s a step-by-step guide to installing Quicksetts:
-
Site Preparation
- Demarcation: Mark the designated area where the Quicksetts will be placed.
- Cleaning: Ensure the site is free from debris, dust, and any loose materials to guarantee a snug fit for the modules.
-
Layout & Positioning
- Module Inspection: Before installation, inspect each Quicksett module for any visible defects or damages.
- Positioning: Start placing the Quicksetts from one end of the marked area to the other, ensuring they align perfectly and form a cohesive unit.
-
Interlocking
- Alignment Grooves: Each Quicksett module typically has alignment grooves or interlocking mechanisms that ensure they fit seamlessly with each other.
- Firm Placement: The weight of the concrete modules and their interlocking design will ensure they remain firm once positioned. However, in some cases, an adhesive or binding agent might be used to further secure them.
-
Final Checks
- Leveling: Using a level, ensure the surface of the Quicksetts is even to avoid any potential trip hazards or vehicle discomfort.
- Gaps: Ensure no gaps exist between modules. Any gaps can be filled using a suitable filler or adhesive.
-
Safety & Visibility
- Markings: While Quicksetts can come with their own color designs, additional reflective paint can be applied for enhanced visibility.
- Signage: Until drivers become accustomed to the new speed table, use temporary signs indicating its presence.
Difference Between Installing Quicksetts and Traditional Speed Tables
-
Duration & Labor
- Quicksetts: As they are modular and pre-cast, the installation is swift, often taking a fraction of the time compared to traditional methods. This reduces labor costs and road closure durations.
- Traditional Speed Tables: Installation is more time-consuming due to the layering, compacting, and curing processes. This requires more workforce and extended road closures.
-
Material Handling
- Quicksetts: Being pre-made, there’s no on-site mixing or preparation of materials. This simplifies the logistics and reduces potential errors.
- Traditional Speed Tables: They require on-site mixing, especially for concrete and asphalt, demanding specialized equipment and expertise.
-
Customisation
- Quicksetts: They offer modularity, which means municipalities can choose various designs or even combine different modules to achieve desired aesthetics or functionalities.
- Traditional Speed Tables: While they can be customized to a degree, they lack the flexibility and diversity that Quicksetts provide.
-
Maintenance & Adjustments
- Quicksetts: If damaged or worn out, individual modules can be easily replaced without disturbing the entire structure. This modular nature also allows for repositioning or adjustments as per evolving requirements.
- Traditional Speed Tables: Any damage or wear usually requires patchwork or, in severe cases, complete reinstallation. Adjustments can be complex and time-consuming.
-
Cost Implications
- Quicksetts: Initial costs might be higher due to the quality and modularity of the product. However, reduced labor and installation time can offset these costs.
- Traditional Speed Tables: While raw material costs might be lower, the extended installation duration, labor, and potential for errors can elevate the overall costs.
While traditional speed tables have been a go-to solution for years, the innovation of Quicksetts offers municipalities a swift, efficient, and flexible alternative. Their ease of installation combined with the potential for customization makes them a compelling choice for modern urban landscapes.
The introduction of speed tables is a testament to urban planning’s evolving landscape, reflecting a greater emphasis on road safety and pedestrian comfort. By following a structured approach to their installation, and with tools like Quicksetts at their disposal, municipalities can ensure a safer, more harmonious traffic flow in their jurisdictions.


